
Graveyard Keeper 2 Automation: Supplier / Factory Checklist
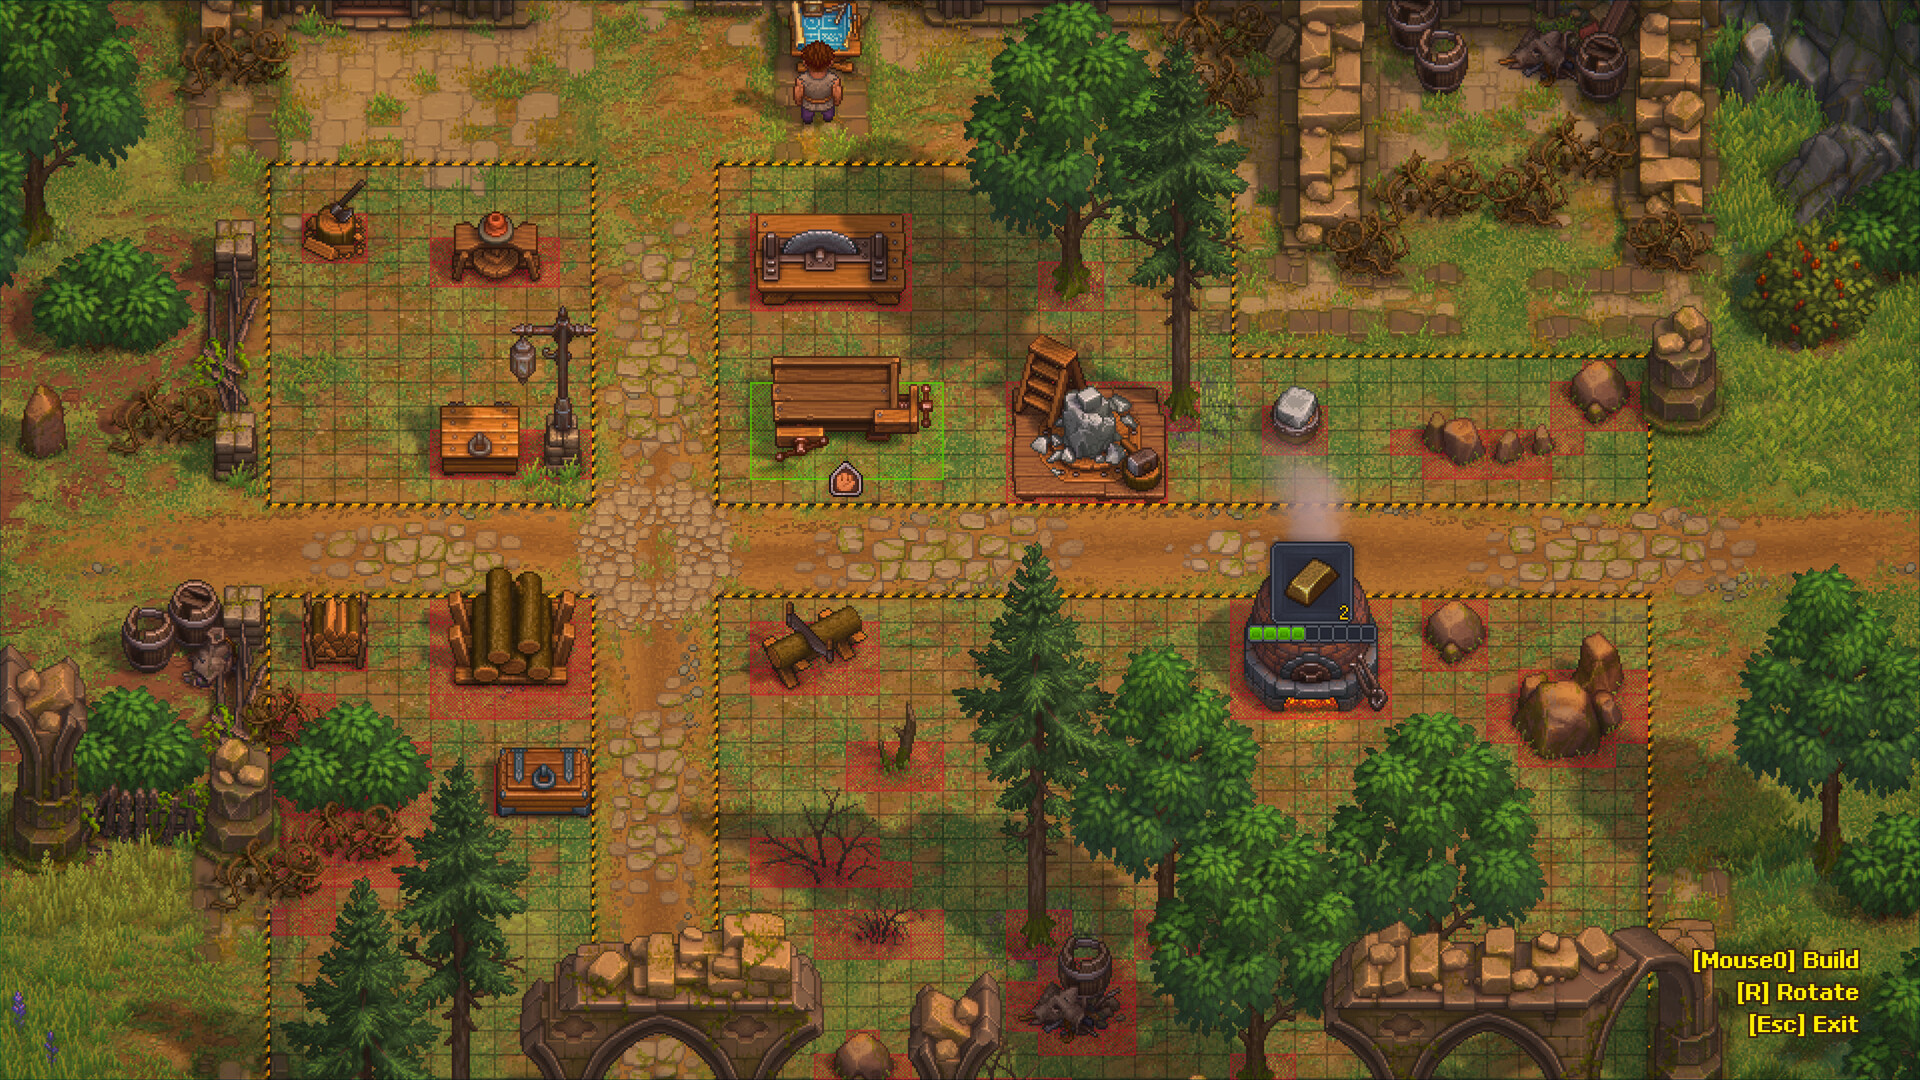
Checked for Graveyard Keeper 2 · patch 1.005 — numbers may change; re-check after updates.
This Graveyard Keeper 2 page is for players who already have zombie workers but production is messy. Unlock/resurrect basics stay on the zombies hub — here we make automation stick.
TL;DR — Automation readiness checklist
| Ready? | Check |
|---|---|
| [ ] | ≥ few zombies reliably completing assigned jobs → Zombies |
| [ ] | You understand corpse triage for worker quality → Autopsy · Red Skull Zombies |
| [ ] | Storage exists near production (not across the map) |
| [ ] | Must-tier logistics/factory techs identified (start with Zombie Assistant / Supplier Station) → Tech |
| [ ] | You’re willing to rebuild a bad layout once |
Not ready yet? Stay on Zombies Stages 2–3.
Prerequisites from zombies hub
Do not repeat unlock tutorial here.
| Prerequisite | Where |
|---|---|
| Dream Dust / Plague Doctor gate | Dream Dust |
| Resurrection + first workers | Zombies Stage 2 |
| Manual assign working | Zombies Stage 3 |
| Know when red skulls matter | Zombies Stage 4 + Red Skull Zombies |
Separate the worker jobs (don’t mix roles)
Fextralife Factory Automation (edited 2026-09-25) frames three distinct jobs — treat them as non-interchangeable:
| Role | Problem it solves | Done when |
|---|---|---|
| Station zombie | Performs the craft at a staffed bench | Recipe completes on a real workstation |
| Zombie Supplier Station worker | Keeps production stations fed without you hand-carrying every input (Zombie Assistant tech unlocks the early Supplier Station) | Inputs arrive without constant babysitting |
| Zombie Carousel worker | Provides conveyor capacity for factory belts | Total capacity meets belt demand |
| Zombie Supply Porter | Collects packed goods from Factory Supply Stations into Supply Storage | Outputs clear instead of clogging supply stations |
A Bioreactor-class auto-crafter is an exception (does not take a station zombie) — confirm on the building tooltip when you unlock it.
Factory layout principles
| Principle | Practical rule |
|---|---|
| Start with one complete module | One output you actually need, full input→process→output route, before sprawling |
| Storage proximity | Chests / Conveyor Chests within short path of stations |
| Single-purpose lanes | Don’t cross every zombie through one chokepoint |
| Input → process → output order | Place in flow direction |
| Bottleneck first | Automate the station that idles you most — not “all machines at once” |
| Expand after stable loop | Copy a working cell; don’t duplicate a jam |
[Input storage / Conveyor Chest] → [Station A + station zombie] → [Output belt / storage]
        ↑ Supplier Station                      ↑ Supply Porter (for packed town supplies)
                 Carousel workers power belt capacity
Power / carousel notes (capacity, not “speed gospel”)
| Topic | Practical rule |
|---|---|
| What power means | Belt pieces, splitters, underground conveyors, and Supply Stations each add demand; Carousel workers add capacity |
| Capacity figures commonly cited | Each active Carousel worker adds capacity (Fextralife cites 7, or 10 with Beltmaster — confirm after patches) |
| Spare capacity | Lets you place more conveyor pieces; it does not by itself make recipes faster |
| Crafted “Zombie Power” items | Later recipe ingredients — not the same thing as Carousel capacity |
Omit “best carousel ratio” absolutes until you measure your own network.
Mistake table
| Mistake | What breaks | Fix |
|---|---|---|
| Automating before first reliable workers | Empty “factory” fantasy | Finish Zombies Stage 3 |
| Storage across the map | Pathing dead time | Move chests adjacent |
| One chest for all items | Sorting hell / wrong inputs | Split storage / filters by loop |
| No Supply Porter for packed outputs | Supply Station backups | Assign porter; free Supply Storage space |
| Belts stop across the factory | Capacity < demand | Staff more Carousels or trim belts |
| Materials arrive but craft never starts | Wrong recipe / mastery / missing extension | Match worker + machine tier to the recipe |
| Ignoring worker quality on key stations | Slow critical craft | Prep better corpses → Red Skull Zombies |
| Unlocking random factory techs | Points wasted | Follow Tech Priority |
| Expanding a jammed cell | Bigger chaos | Troubleshoot the first blocked stage |
| Copying GK1 factory muscle memory | Wrong game assumptions | Re-check every module in GK2 |
Manual assign → light logistics → factory (maturity model)
| Maturity | What you do | Stop advancing if… |
|---|---|---|
| M1 Manual | Assign jobs one-by-one; watch cycles | Jobs don’t complete |
| M2 Light logistics | Add Supplier Station; nearby storage | Still babysitting every input |
| M3 Factory cell | One module with belts + Carousel capacity + clear outputs | Cell jams unresolved |
| M4 Expand | Duplicate cells; unlock more modules; Supply Porter for town packs | Expanding a broken cell |
Worker quality at automation stage
| Station importance | Worker policy |
|---|---|
| Bottleneck craft | Improve corpse/collar/perk quality → Red Skull Zombies |
| Bulk simple jobs / transporters | Any reliable worker OK (low red often fine) |
| Carousel / porter roles | Prioritize reliability and free zombie-limit budget over max reds |
| Don’t | Replace entire army before one loop is stable |
Tech unlocks that matter
| Priority bias | Why | Page |
|---|---|---|
| Zombie Assistant → Supplier Station | Makes early loops real without full factory | Tech Priority |
| Factory / Carousel / conveyor unlocks | Needed for M3 cells | Confirm names on your tree |
| Station capacity / extension nodes | Removes recipe locks | Match to the craft you actually queue |
| Skip late cosmetics | Don’t tourist | Tech Priority Later/Skip tiers |
Done when (stable loop checklist)
- [ ] One input→station→output loop runs without you for a meaningful stretch
- [ ] Supplier Station and/or Supply Porter roles assigned correctly for that loop
- [ ] Carousel capacity ≥ belt demand (if using conveyors)
- [ ] Storage placement fixed after at least one jam
- [ ] Mistake table reviewed against your layout
- [ ] Next expansion copied from a working cell — not a new maze
- [ ] Worker quality improved only on bottleneck stations
FAQ
Q: When am I ready to automate vs still manually assigning?
A: When several zombies already complete jobs reliably. If assignment itself is broken, stay on the zombies hub.
Q: What do Supplier / Porter zombies do?
A: Supplier Station workers feed inputs to production; Supply Porters move packed factory supplies into Supply Storage. Carousel workers provide belt capacity — a different job.
Q: What layout mistakes break production?
A: Far storage, single mega-chest, missing porters, capacity shortfalls, expanding before one loop is stable — see mistake table.
Q: Which techs should I unlock before expanding the factory?
A: Zombie Assistant / Supplier Station first, then factory/carousel gates for the module you need — Tech Priority.
Q: How does corpse/worker quality still matter?
A: Key stations still benefit from better perk slots. Prep on Autopsy and Red Skull Zombies; don’t mass-replace every zombie at once.
Q: Where is the full zombie unlock guide?
A: Graveyard Keeper 2 Zombies — this page assumes workers exist.
Also read
- Graveyard Keeper 2 Zombies — parent hub
- Graveyard Keeper 2 Tech Tree Priority
- Graveyard Keeper 2 Autopsy & Skulls
- Graveyard Keeper 2 Red Skull Zombies
- Graveyard Keeper 2 Beginner Guide